
NYHETER & HÄNDELSER
FILMKOMPANIETS SENASTE INLÄGG
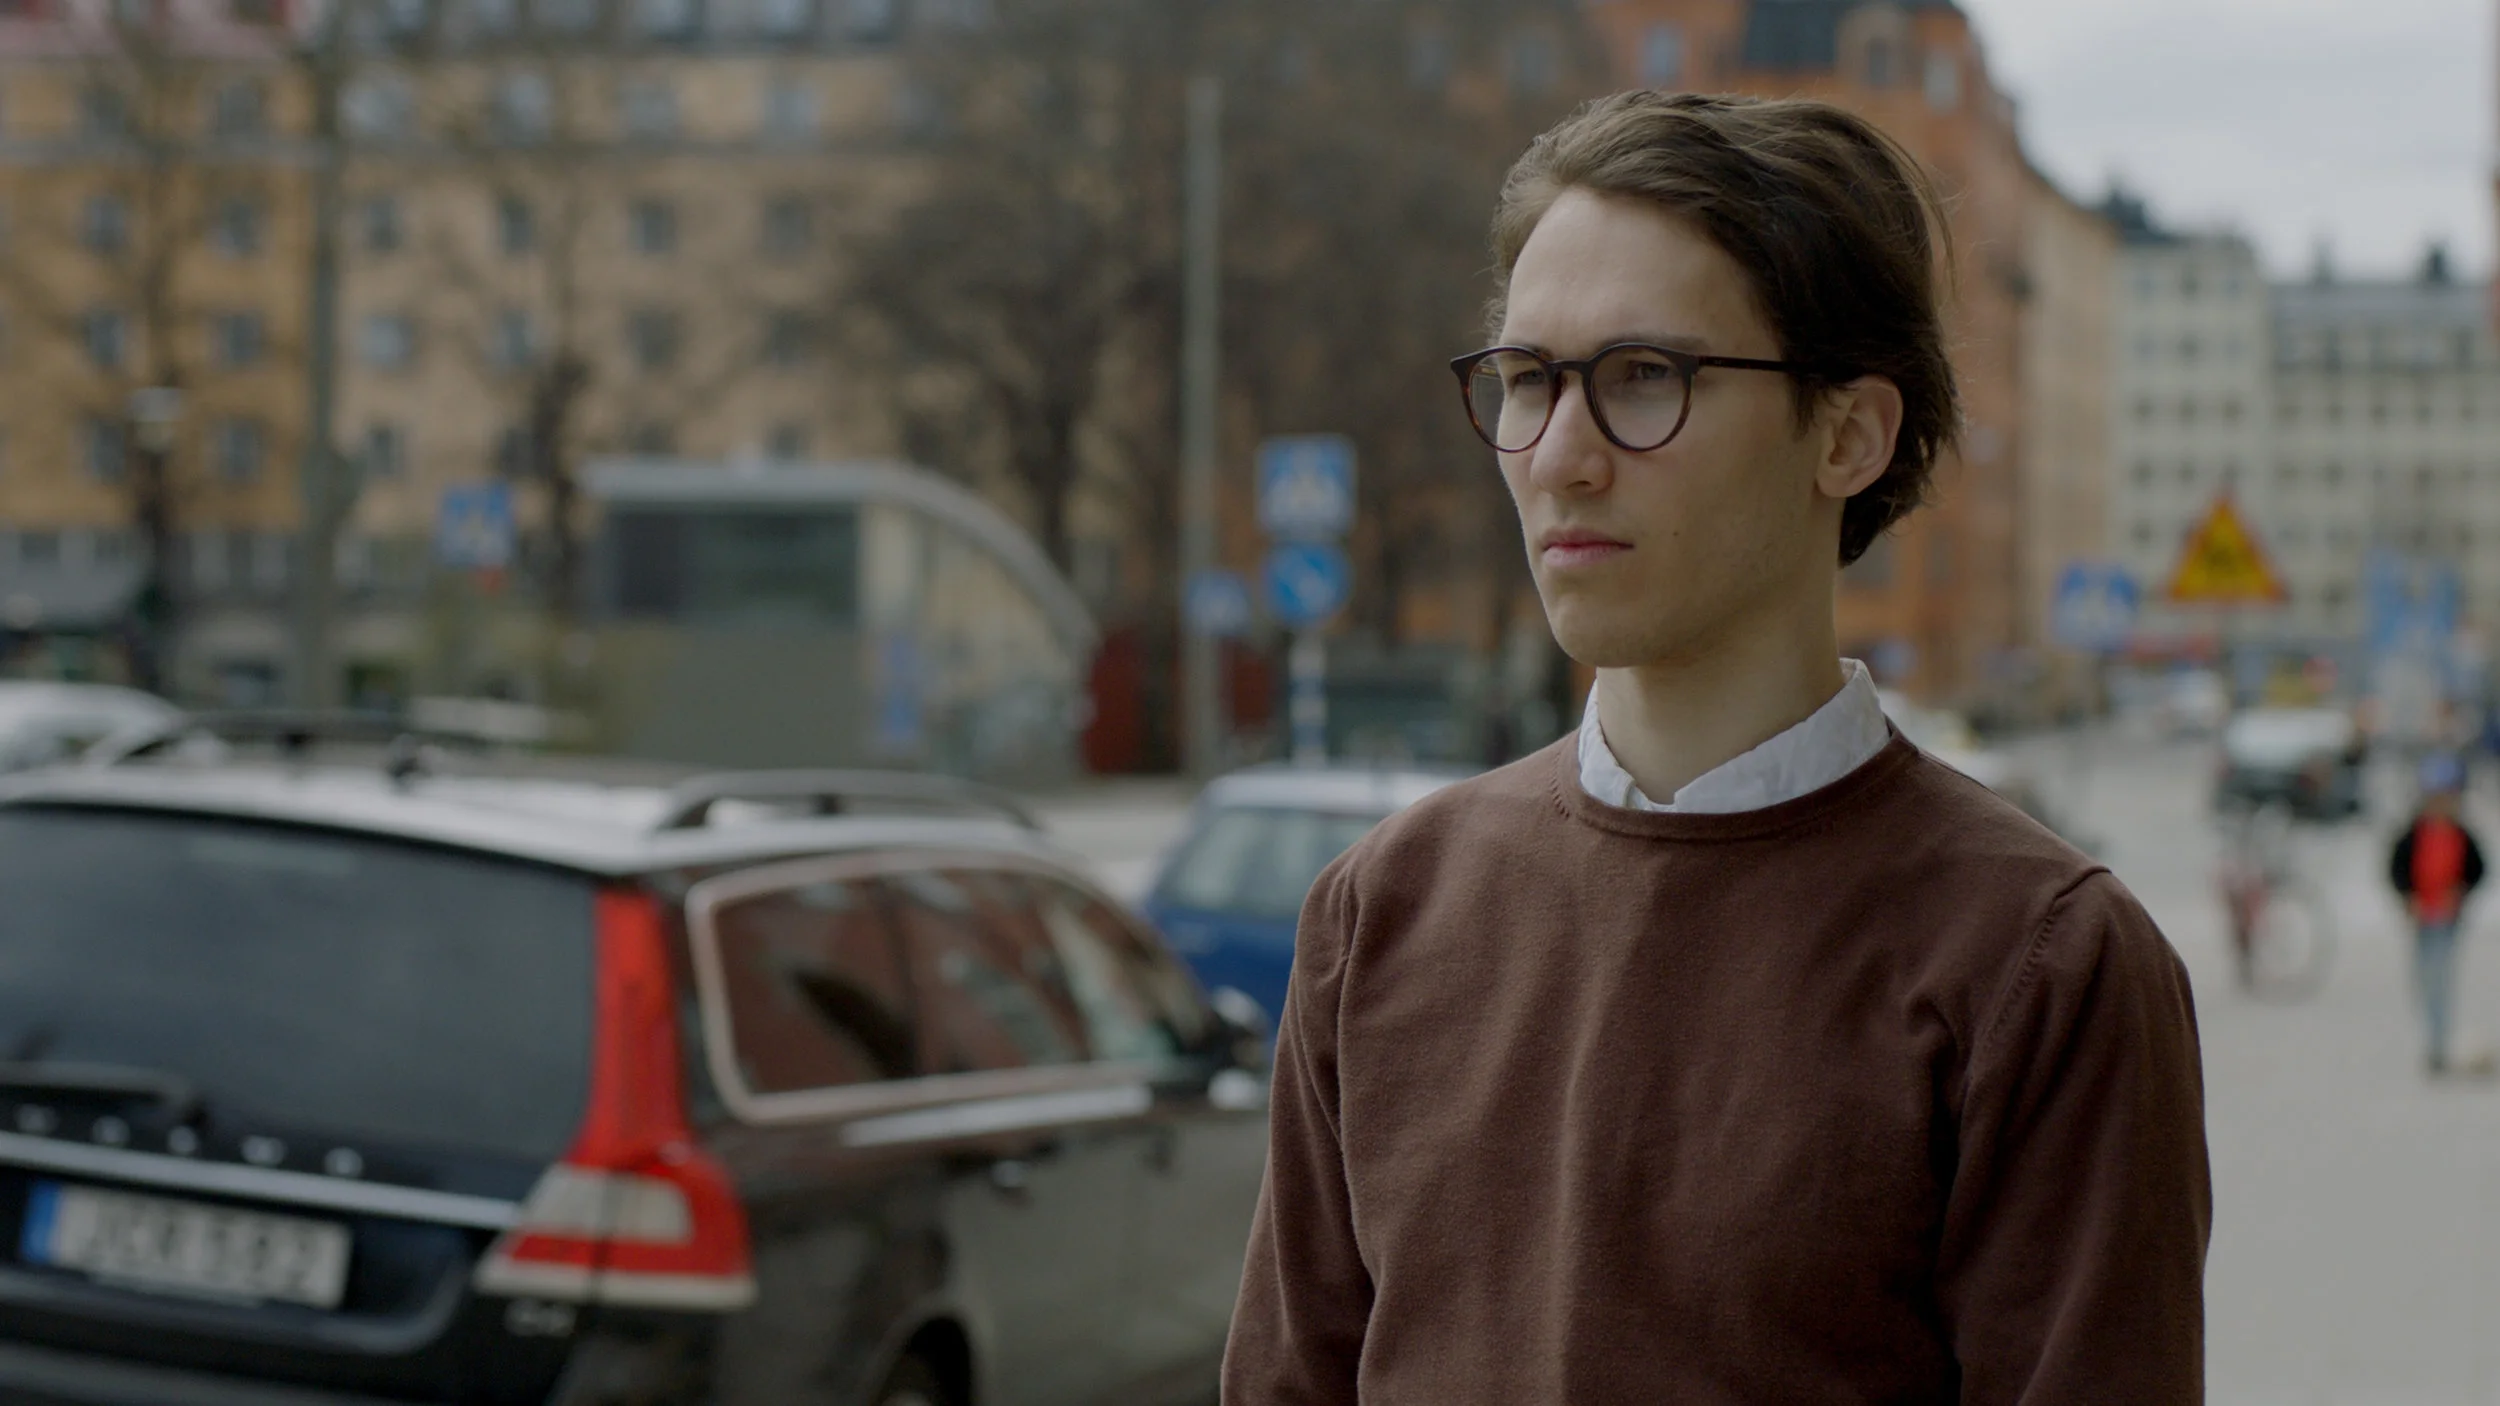
BAKOM KAMERAN I VÅR MUSIKVIDEO
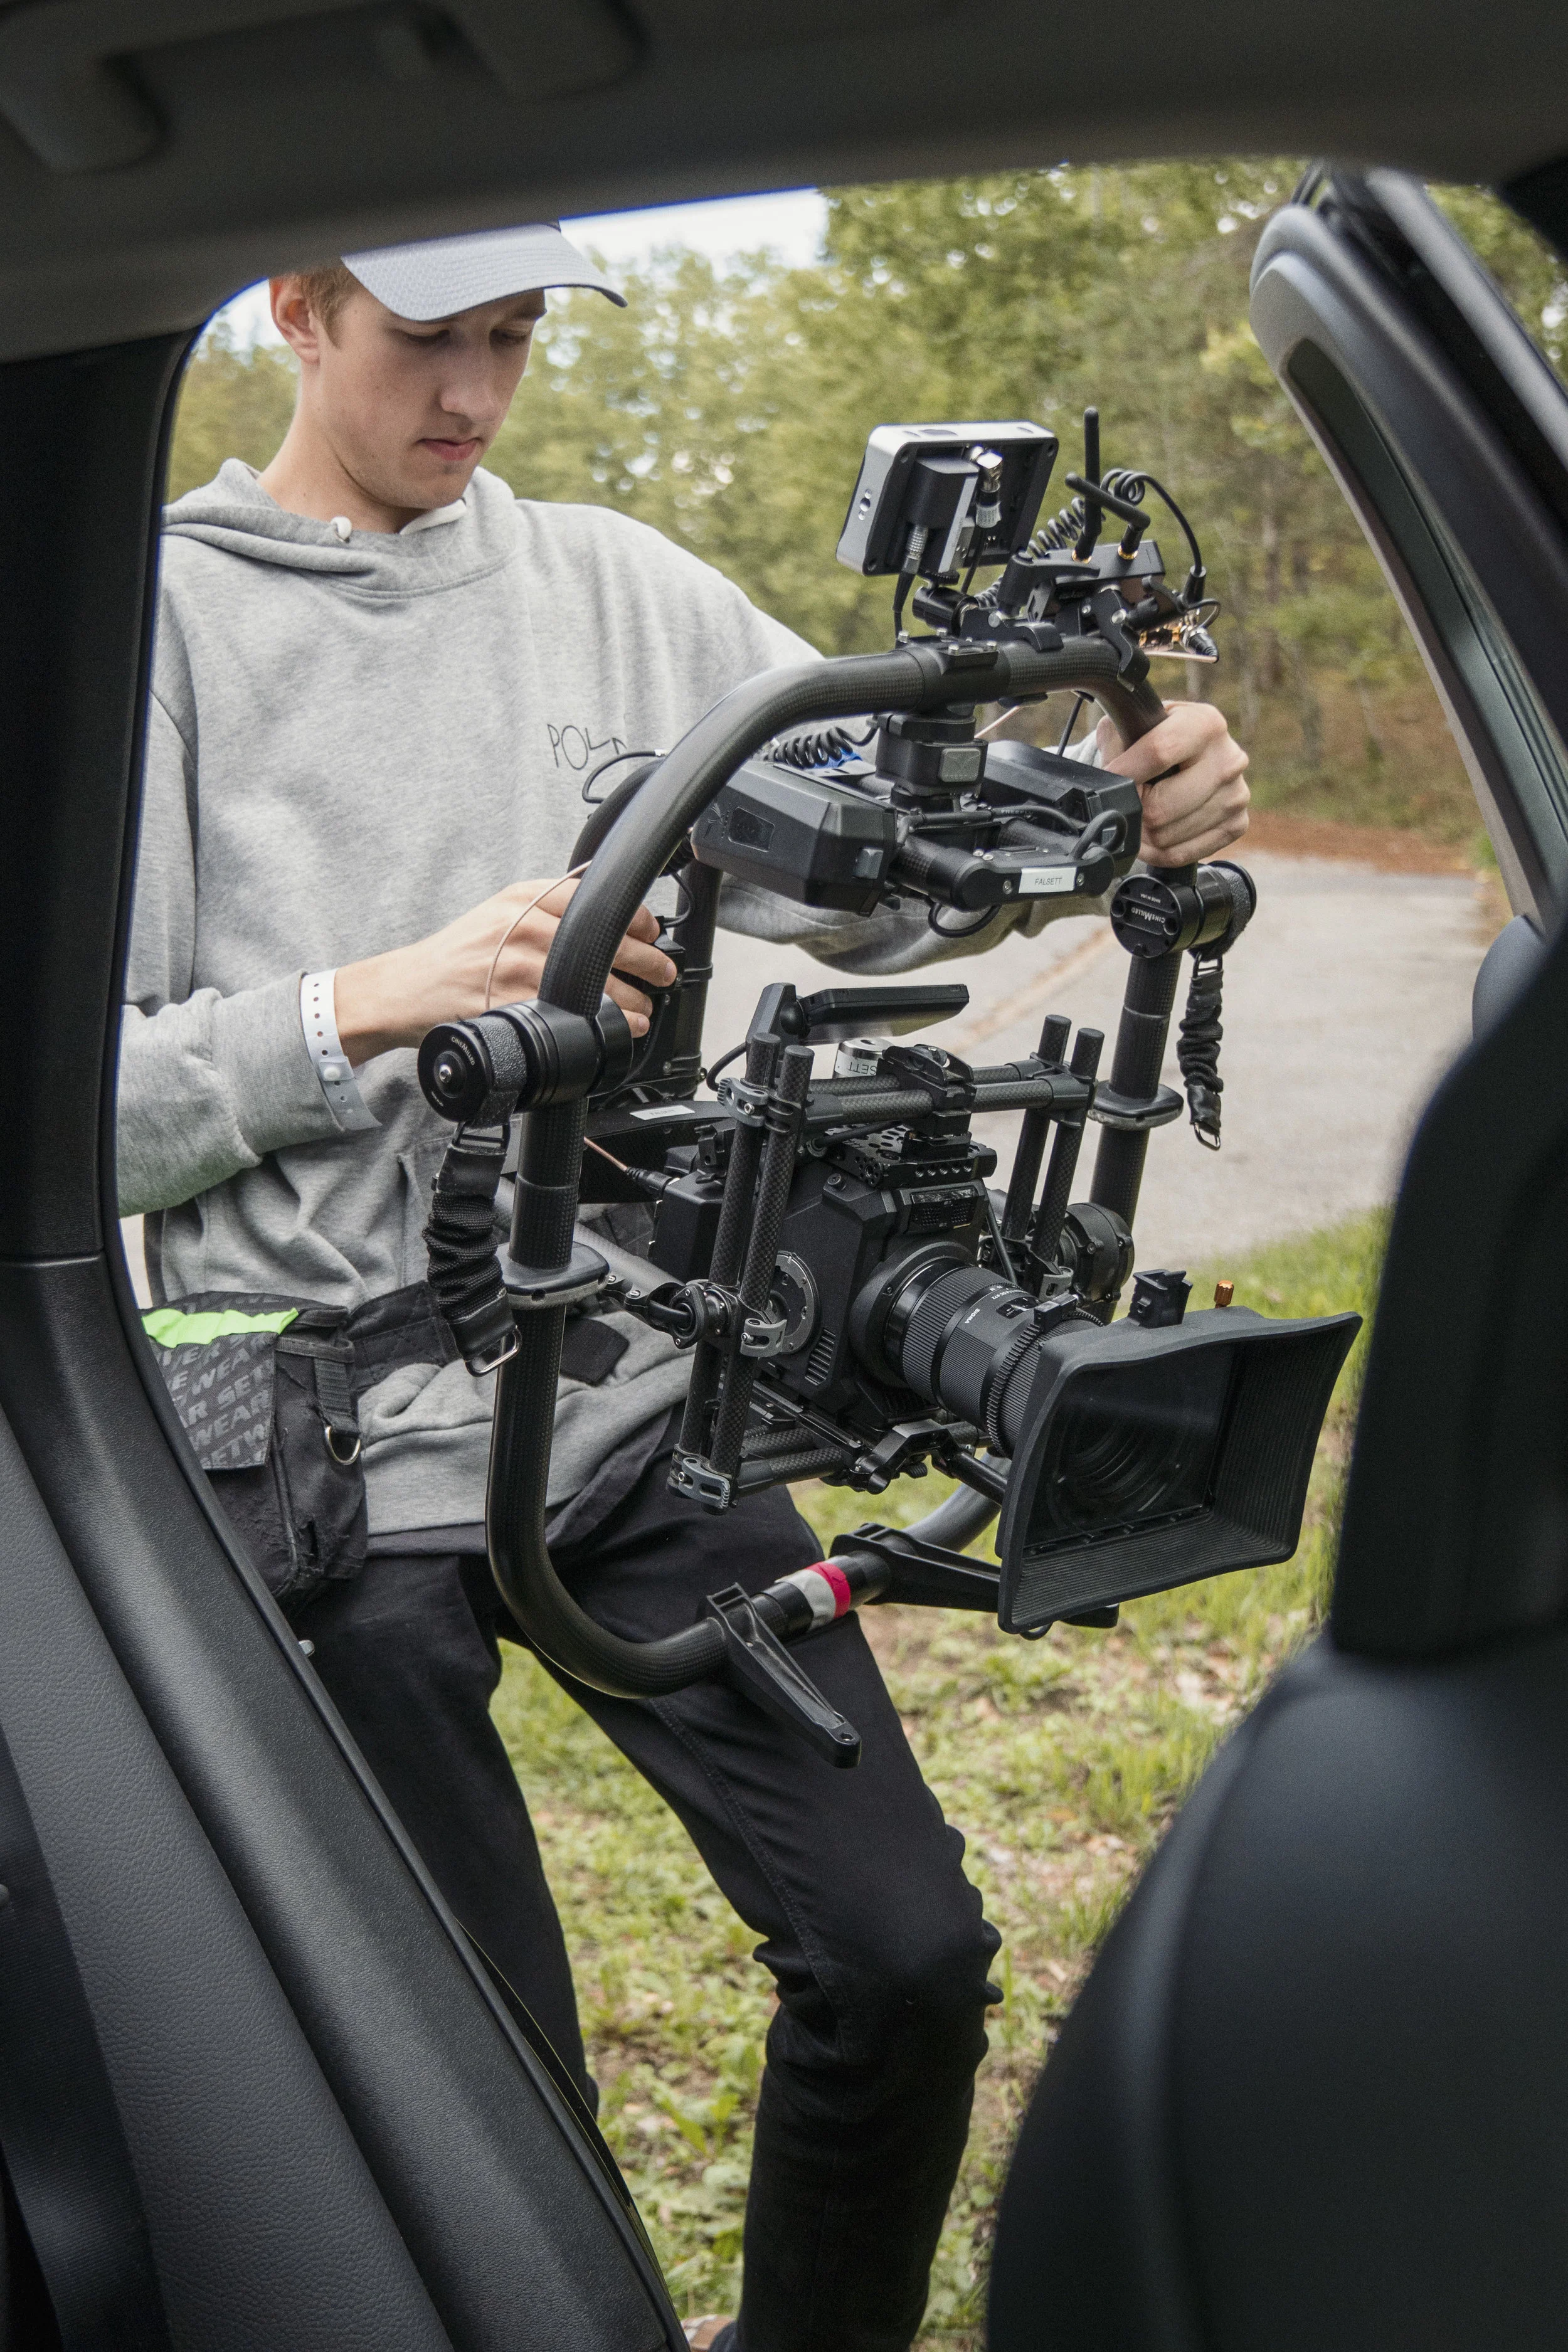
For the music video for the Dutch artist Maxiiim we decided to make the gear as mobile as possible. We originally planned on using a dolly system in combination with locked shots and the Freefly Movi, but we changed to just using the Movi to save breakdown-time and to spend more time on the actual performance.
We ended up using the following equipment:
Panasonic EVA1
Sigma 18-35mm f1.8 Art (EF mount)
Bright Tangerine Misfit Atom
Tiffen Black Pro-Mist 1/4
Ready Rig GS + ProArms
SmallHD 703 Bolt system
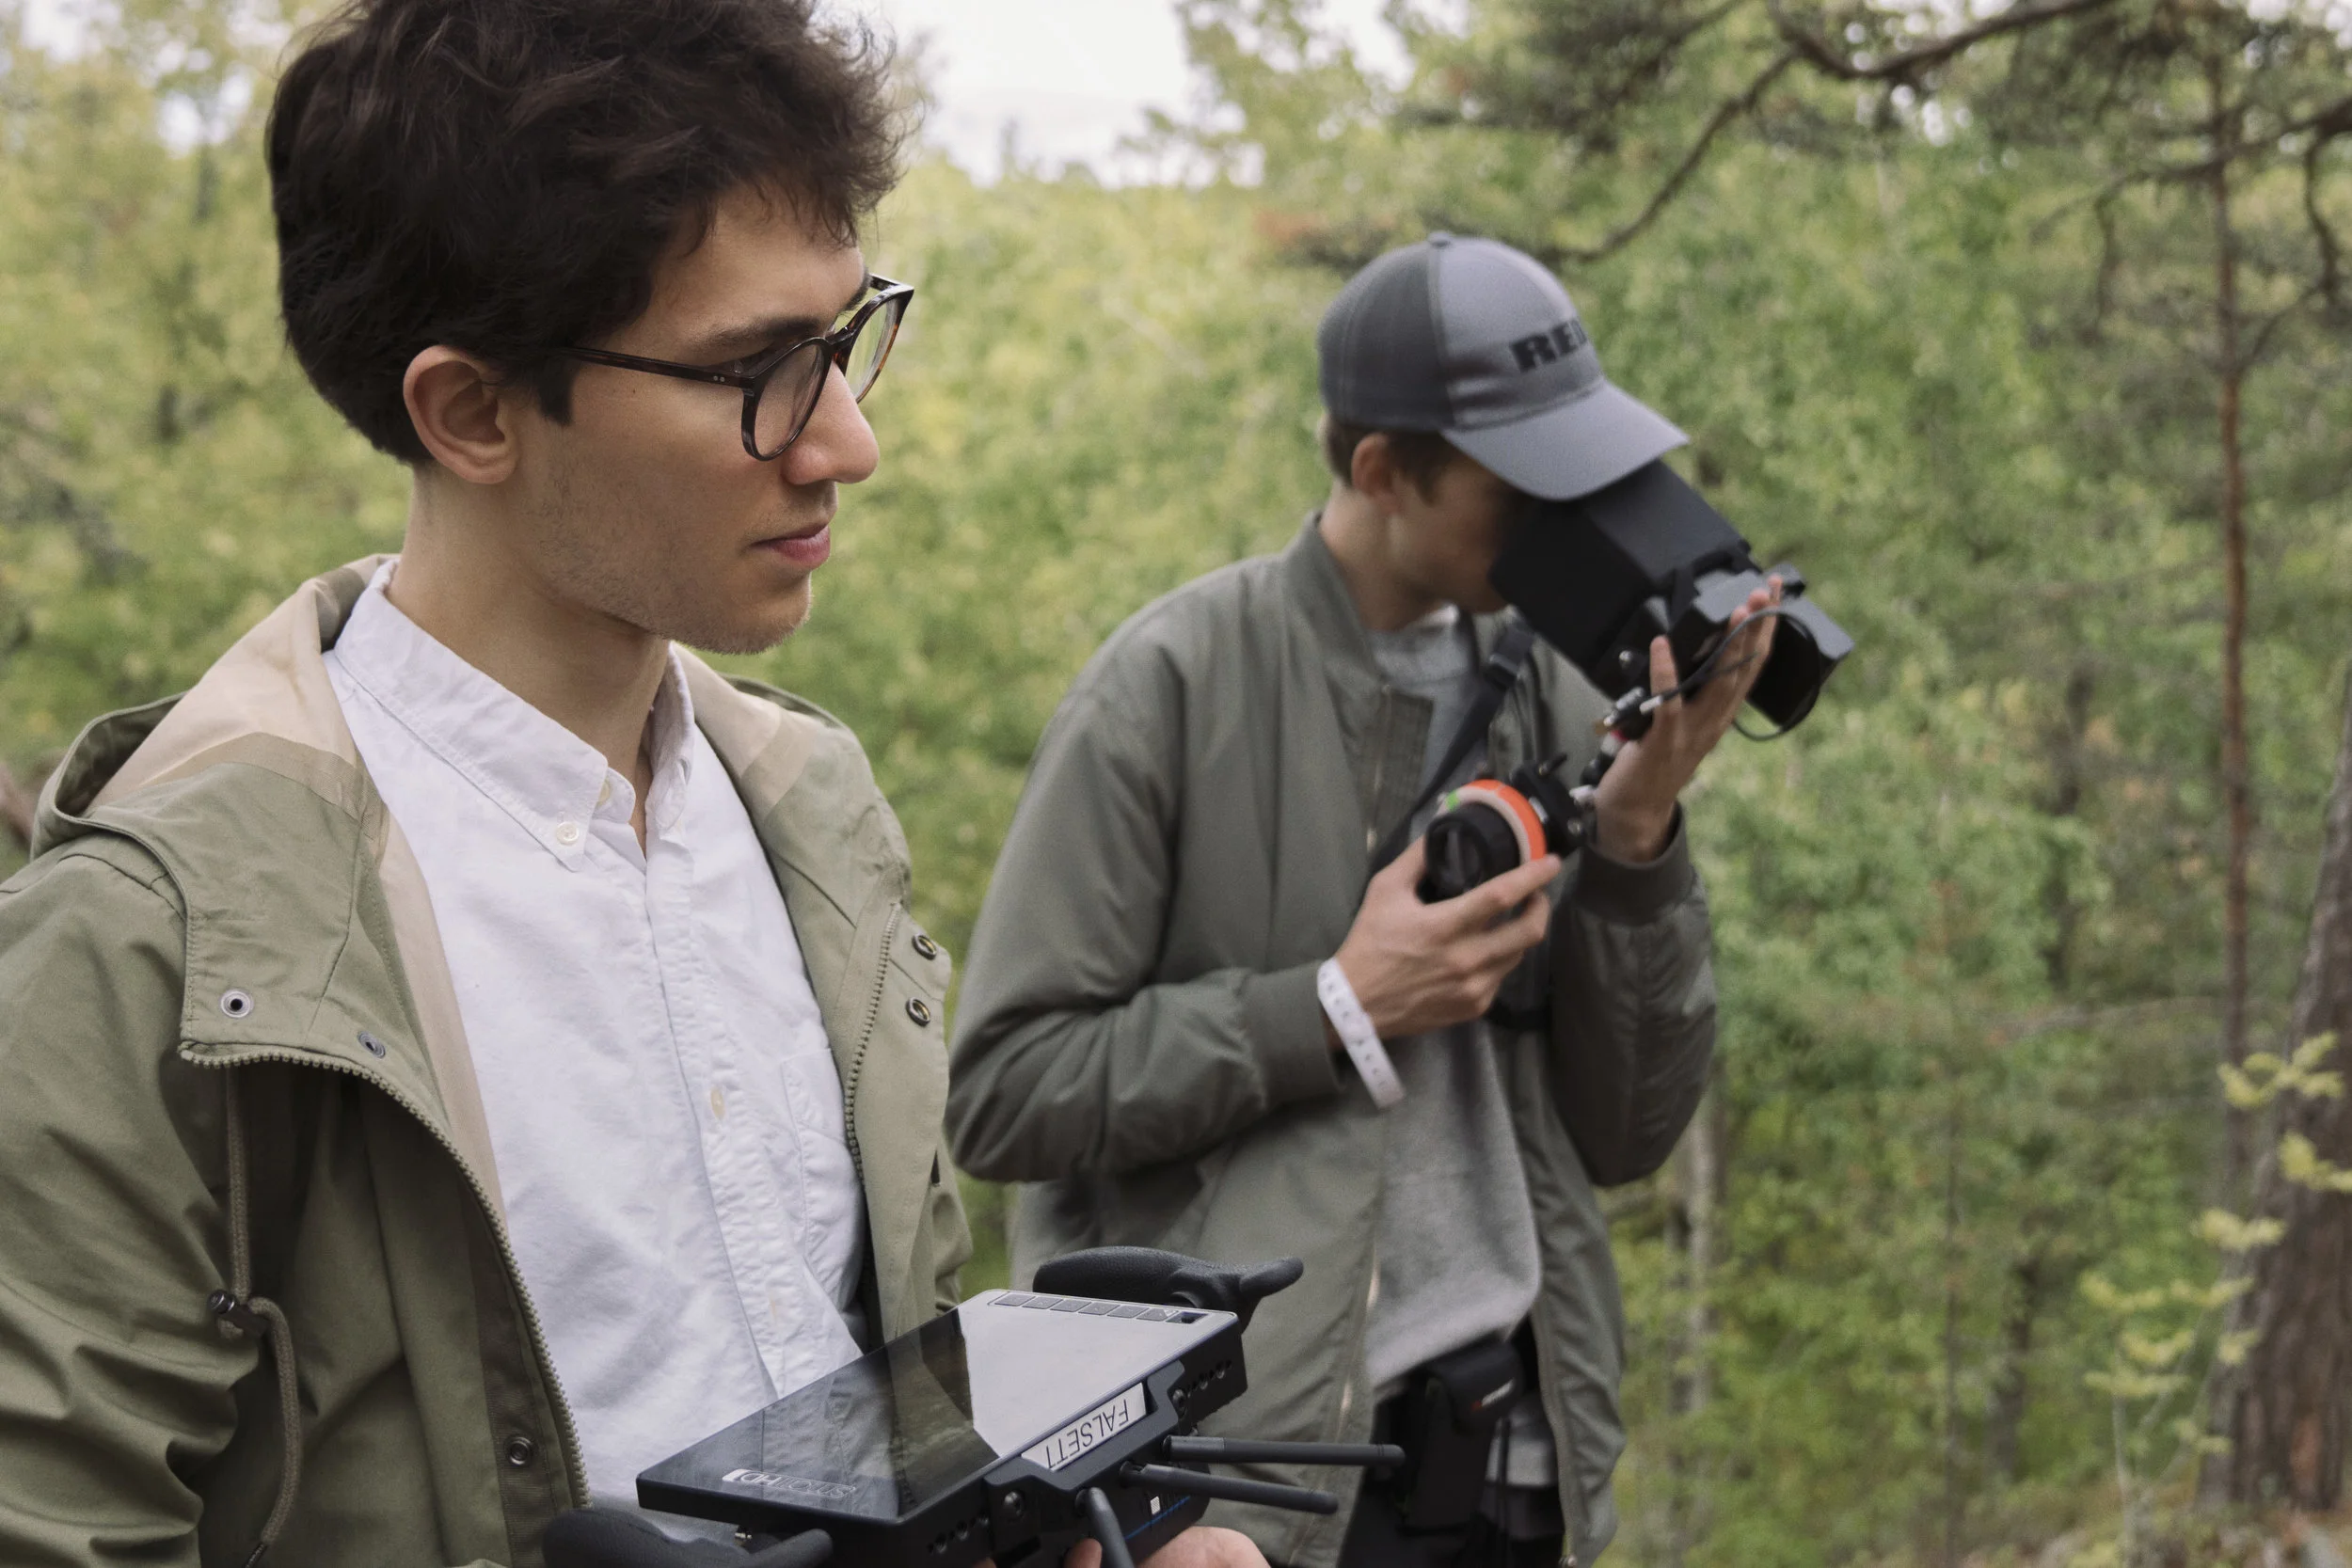
The team consisted of Miles (DOP), Hugo Nilsson (first AC), Christian Altmann (production) and Minco van der Weide (director).
Enjoy the photo steam!

Hugo Nilsson (first AC), Miles (DOP), Maxiiim (artist) & Minco van der Weide (director)

Miles (DOP) & Maxiiim (artist)
Hugo Nilsson (first AC)
Minco van der Weide (director) & Hugo Nilsson (first AC)

Miles (DOP) & Minco van der Weide (director)
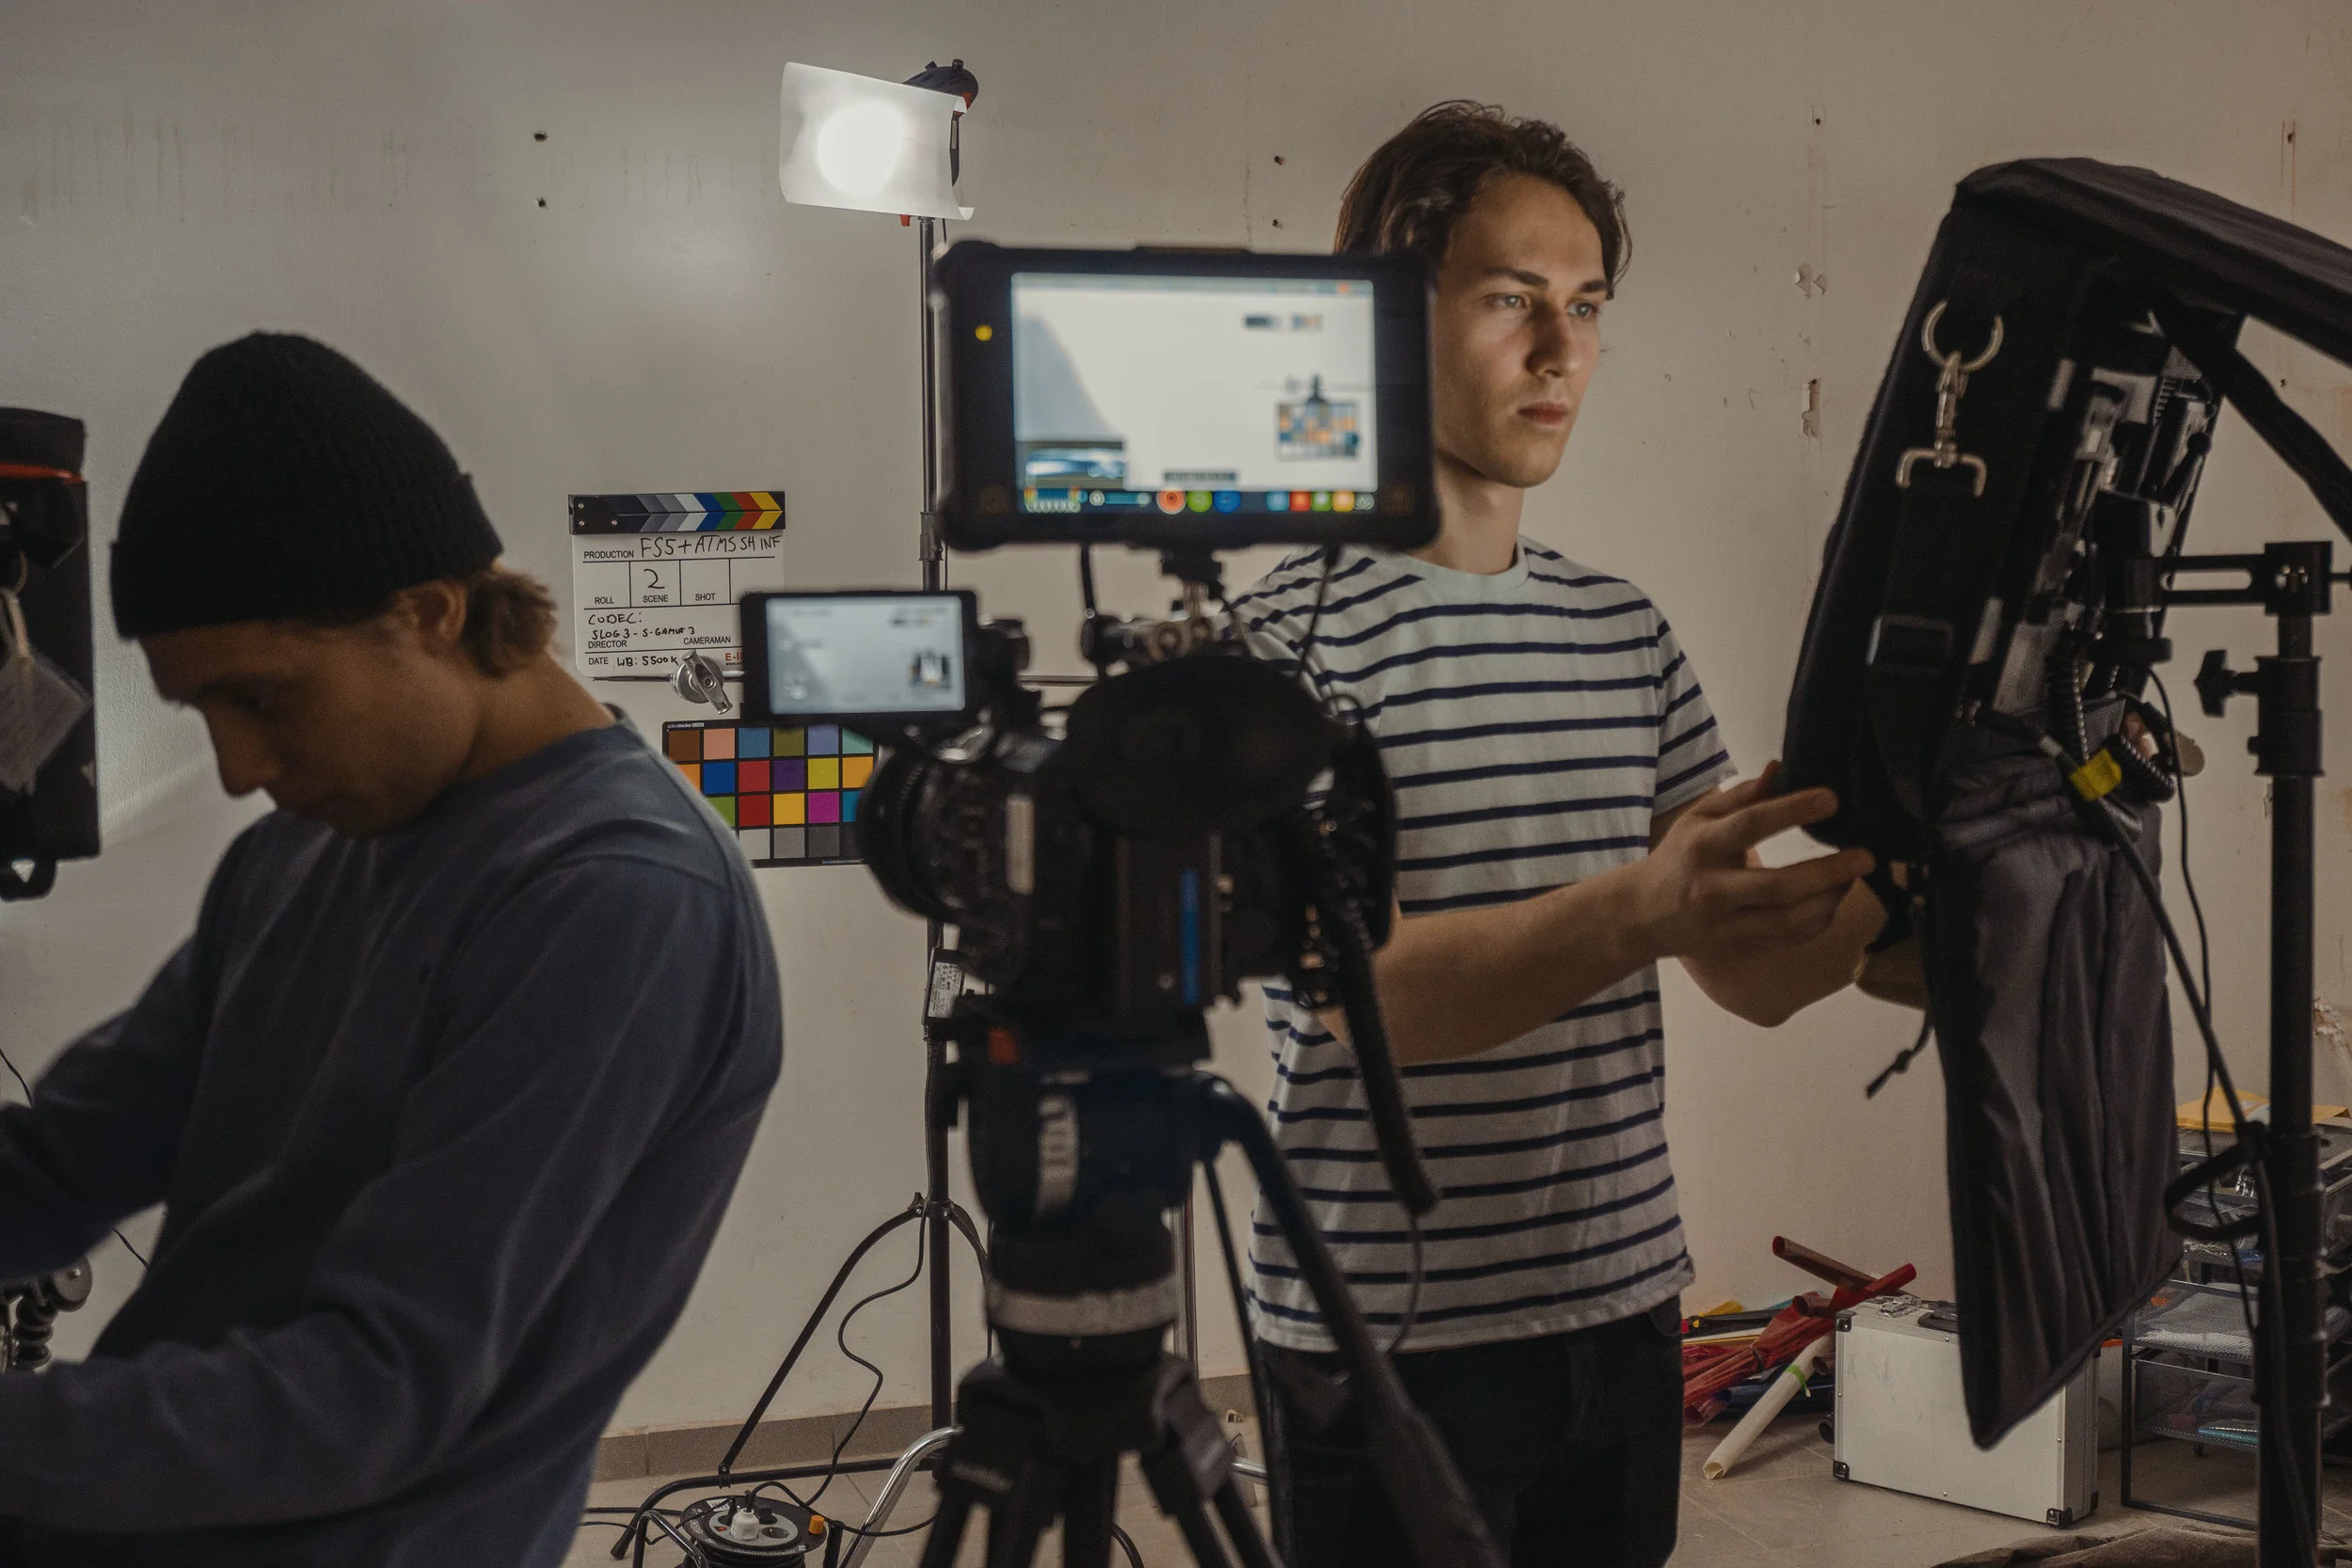
Head to head: Arri Alexa, Panasonic EVA1, RED Dragon, Canon C300 mark II, Blackmagic Ursa Mini and Sony FS5
Intro
There is a big chance you have a preference in terms of the "look" of a certain camera system as a camera operator, DOP or director. Some cameras and brands like Arri, RED and Canon are known for their particular characteristics.

Most of these results are based upon the untouched footage that comes straight out of the camera. Tests rarely get graded by a dedicated colourist. We wanted to find out how different professional cameras from a wide range of price points compare in a test setup.
The test setup
We decided to light it quite flat with a big diffuser. We included a bare lightbulb in the background. While this isn't as scientific as a dynamic range chart it still gives a rough idea of the dynamic range of the cameras. To check the noise characteristics in shadow areas we put a black frame in the bottom right corner.

We used the following equipment:
Cameras
Arri Alexa Mini - 3.2k Prores 4444
Red Dragon - 6k R3D 8:1
Panasonic EVA1 - 4k 422 400mbps
Blackmagic URSA Mini Pro - 4.6k Prores 444
Canon C300 mark II - 4k 422 320mbps
Sony FS5 - UHD 420 100mbps
Lens, filter and mattebox
Arri MMB-2
Sigma 35mm f1.4 Art (EF mount)
Formatt Firecrest ND 0.3
Formatt Firecrest ND 0.6
Lighting and chart
Arri Skypanel S30 (2x)
Arri Skypanel S60
Chimera 72x72" Pro Panel
X-Rite ColorChecker Classic
Grading
DaVinci Resolve 15 Studio
Dolby Professional Reference Monitor PRM-4220
Laser projector

We used the SmallHD to check focus - Jesper Wahlqvist
Shoot
We shot tests at the highest possible internal quality (4k on most cameras) at the native ISO. We then went on and shot at iso 3200 (or equivalent on the FS5, max ISO on the Ursa was 1600). Finally, we shot some slow-motion footage to check out resolution and artefacts.
We were aware that the EVA1 and FS5 can get a significant increase in quality when recorded externally, but we decided we wanted to compare the practical internal capabilities of the systems instead of relying too much on external recorders. This would be a test on its own since there are a lot of variables in terms of recording formats and recorders (click here to see our FS5 ProRes RAW test).

The three Skypanels combined gave a good output for the tests - Hugo Nilsson
We also are aware of the fantastic RAW capabilities of the Ursa and Alexa, but the lack of good compression makes it clunky and difficult to data wrangle on anything longer than a few hours without a dedicated DIT. Since we wanted to compare the cameras as they usually get used in productions we ended up only shooting RAW on the RED.
The final setup - Minco van der Weide
One of the most important factors of professional cameras is ease of use. Cameras in higher price-ranges are mainly rentals, so usually the less quirky the better. We found the Alexa to be the easiest to use, but this opinion might be slightly biassed since we are used to the Arri system.
The EVA1, Canon, RED and Ursa are still all quite user-friendly in terms of buttons and menus, and while every camera has its quirks it seemed to be all totally doable. One camera that stood out was the Canon. The C300 mark II becomes incredibly tall when rigging up.


The most tricky camera to use and mainly expose was the FS5. Sony menus have a bad reputation and this holds up in this, and previous tests we did. It is, however, something that you get used to over time, but the Canon and EVA1 are definitely easier to use for a first-time operator.
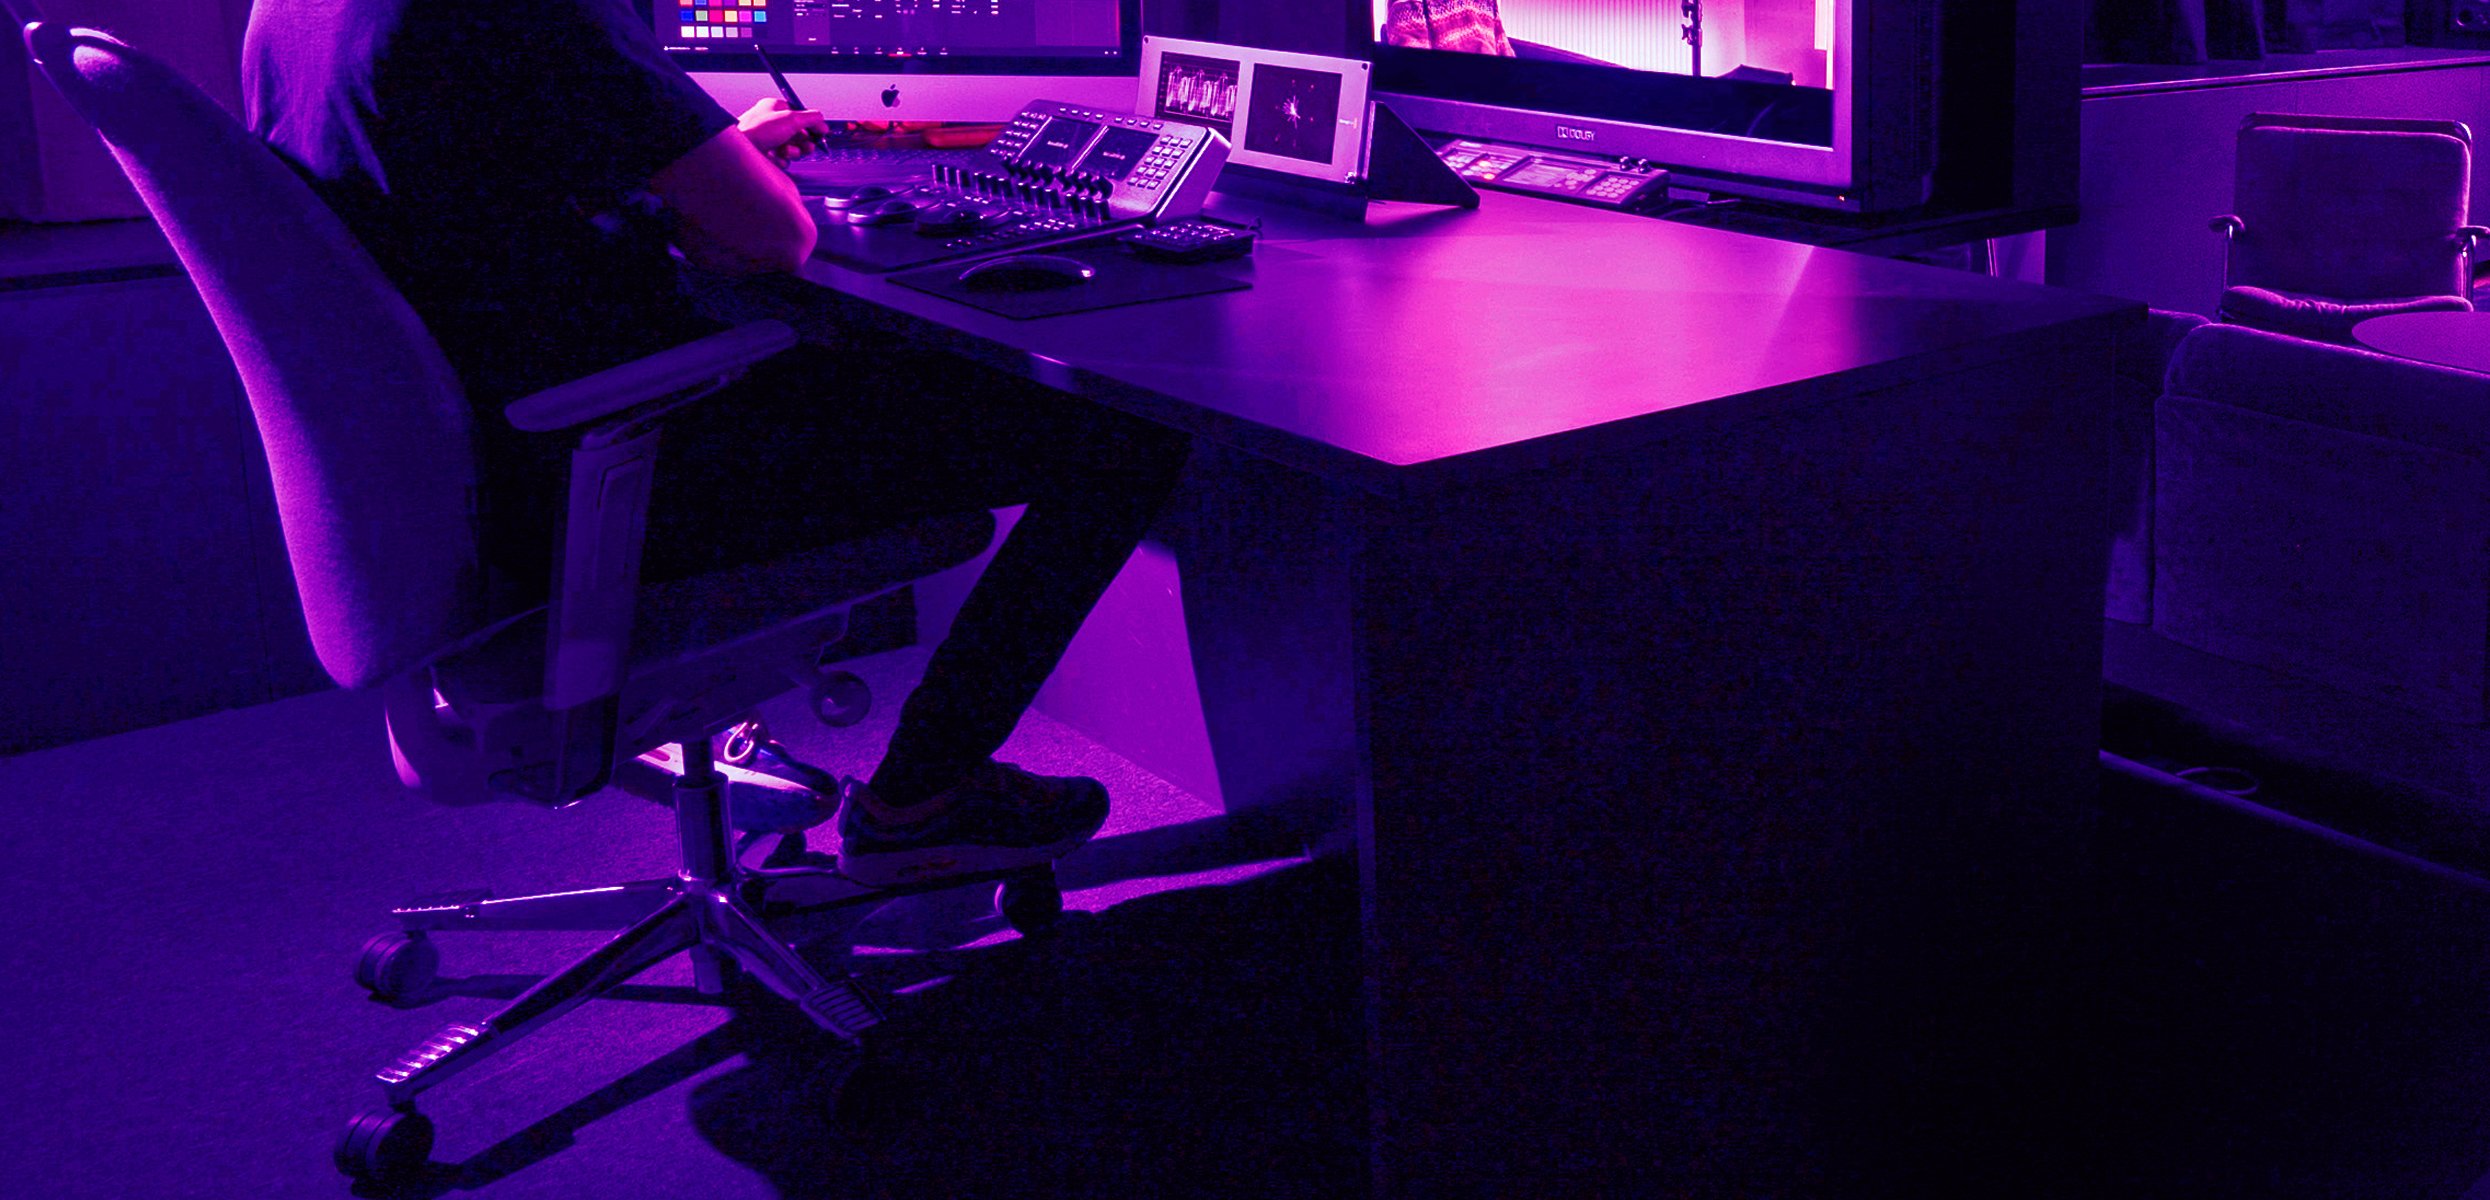
Grading
To get a good sense of what these cameras are capable of we decided to get our footage graded at Tint, a leading postproduction company in Stockholm. It has fantastic facilities and the industry standard Dolby PRM-4220 Reference Monitor.
Our footage got graded by the talented Oskar Larsson (i.a. known for his work on Lexus, H&M, Volvo and Dior commercials). Post-production supervisor Vincent Larsson (i.a. known for The Square) was also present during the grading.
The look and feel of cameras tend to be quite a personal and subjective matter. However, the overall conclusion of this test was that all the tested cameras can perform surprisingly similar. When used correctly all the tested cameras were easy to match and ended up looking completely comparable to an untrained eye.

Grading the footage at Tint - Oskar Larsson & Vincent Larsson
As expected the Alexa and RED still had the edge in terms of dynamic range, the rest came however very close. We were pleasantly surprised by how well the EVA1 matched with the Alexa, it had great colour and dynamic range.
The FS5 seemed to lack in the colour department and overall depth of the image. The dynamic range was also less then optimal, but this also has to do with the fact that it's recommended to overexpose by 2 stops when shooting S-LOG2. We still were surprised by how well the 8-bit 4:2:0 footage compared to the rest, even on the reference monitor.


The area where you saw quite a difference was the vector-scope when zooming in on the colour chart. When we compared the 8-bit 4:2:0 footage out of the FS5 with the 10-bit 4:4:4:4 footage out of the Alexa we saw a lot more spikes on the Sony side.
The wider spread on the Alexa shows more colour variances and less patchy colour tones. This difference was however minimal between the other cameras since the Sony was the only one limited to 8-bit recording in 4K.
Comparison
With decent grading skills, all the tested cameras can perform adequately for most well-lit work. The slow motion and lowlight capabilities are where the differences became more distinct. We do however recommend to check these differences out by downloading the footage since compression would remove most of the noise when uploading to YouTube.
If we had to rank the cameras in terms of overall quality of footage in a well-lit scenario we would end up with the following order. Please keep in mind that most of this is open for interpretation and preference, so we encourage you to download the high-resolution files below. By testing it you will hopefully come up with your own conclusion.
Overall image quality
Arri Alexa Mini / RED Dragon 6k
Blackmagic Ursa Mini Pro
Panasonic EVA1
Canon C300 mark II
Sony FS5
The Arri Alexa Mini and RED both have distinct characters in terms of image quality. Even though the Alexa tends to be used more often in high-end productions, there is no denial about the fantastic image quality coming out of the RED. After showing it to many industry people we ended up with a tie in the first place. On a professional set with good light you can't really go wrong with either of these two cameras.
However, when shooting in low-light the order changes dramatically. The overall usability of the cameras around 3200ISO would be the following.
Lowlight performance
Panasonic EVA1
Canon C300 mark II
Sony FS5
Arri Alexa Mini
RED Dragon 6k
Blackmagic Ursa Mini Pro
There are however big differences in terms of internal noise-reduction on most cameras, especially when shooting RAW, so this is not a totally fair test without applying noise-reduction in post-production. But since the amount of noise reduction in post would be totally up to preference, we ended up comparing the noise coming directly out of the cameras.
Slow-motion was an area where the cameras differed most. It's difficult to list them since they all differ in crop factors, resolutions, codecs and frame-rates when shooting slow-motion. Adding it all up we would end up however with the following order.
Slow motion performance
RED Dragon 6k
Arri Alexa
Panasonic EVA1
Sony FS5
Canon C300 mark II
Blackmagic Ursa Mini Pro
Often overlooked is the media storage part of shooting with pro cameras. When file-size increases the on-set and postproduction workflow can change drastically.
While it might sound like a great idea to shoot your production in RAW, the backup and media transfer process can quickly become so confusing that the extra quality doesn't overweigh the extra costs and time RAW takes to handle.
File-size to quality ratio
Panasonic EVA1
Canon C300 mark II
Sony FS5
RED Dragon 6k
Arri Alexa & Blackmagic Ursa Mini Pro
The EVA1 delivers fantastic 10bit 4:2:2 files in 150mbps and 400mbps. The image is downscaled from 5.7k to 4k resulting in sharp but still organic looking images.
The C300 mark II delivers files very similar in gradability and sizes. However, apart from the magenta colour cast, the visual sharpness seems to be less. This obviously has to do with the lack of a downsample.
Sony cameras are generally seen as workhorses in the broadcast and corporate sector. It is however not possible to shoot 10bit 4:2:2 with the FS5 in 4k, and S-LOG is generally considered as tricky to expose and grade optimally.
RED was hard to place on the list of file-size to quality ratio since it's practically the only camera that is mainly used in RAW mode on real-world productions. The amount of compression that's optimal depends a lot on the shoot. Resolution, movement and colour all play a role. However, 8:1 is generally seen as a good balance between quality and file-size. You end up with fantastic flexibility in post, but file-sizes are still a lot bigger than the cameras above. Since the difference will be hard to notice in a well-lit scenario the RED ended up on place four.
The Alexa and Ursa ended up sharing the last place in terms of file-sizes. Their ProRes codecs are edit-friendly and widely regarded as the industry standard codec. However, the compression is inefficient and file-sizes tend to be rather large without much improvement in visual quality. This lack of compression does mean that playback in most NLE's is very smooth.
It will be interesting to do a test once ProRes RAW gets supported on the Alexa and Davinci Resolve, but this probably will take over a year since Atomos has exclusive rights on the codec at the time of writing.
Verdict
We are living in an age where cameras aren't the limit to creativity anymore. Not that many years ago it would be impossible to argue that a €4.000,- camera could be directly compared to a €40.000,- camera. Nowadays the differences become less and less noticeable.
We'd argue that most professional cinema cameras can better be compared in terms of ease of use on set, rather than just the output.
A special thanks to Falsett and Tint for making this test possible!
Download
To see the complete differences in quality you can download the high-resolution files by clicking here.
You are free to use, modify and publish it under a Creative Commons Attribution licence, make sure to mention Filmkompaniet and provide a link to our website (www.filmkompaniet.com).
We would love to hear your thoughts, share your results in the comments below.
Disclaimer
No camera manufacturers were involved in this test, the verdict is our honest and unbiased opinion. We at Filmkompaniet own an EVA1, but since the post-production is done by an independent post house it did not affect any of the conclusions. We saw it as a great learning experience and hope this test is helpful for people interested in any of the tested cameras.
Tiffen Black Pro-Mist and Schneider Black Frost on the Sigma 50mm ART
Intro
The goal of this test was to see whether we could get in the ballpark of the vintage lens look (example: Cooke Pancho) by using diffusion filters on a modern lens.
We used the following equipment:
- Arri Alexa Mini
- Cooke Speed Panchro 50mm T2.2 Series II
- Sigma DG HSM 50mm f/1.4 Art
- Tiffen Black Pro-Mist 1/8
- Tiffen Black Pro-Mist 1/4
- Schneider Black Frost 1

Results
We found out that a 1/4 or 1/8 filter can definitely bring the results of a sharp modern lens closer to that of a vintage lens. However, the bokeh, colour and overall lens character naturally doesn't change.
Using the correct filters definitely takes away a bit of the clinical look of modern stills lenses, but it doesn't create a perfect match with a classic lens.


Download the files
Click on the link below to download the video files on Mediafire.
You are free to use, modify and publish it under a Creative Commons Attribution licence, make sure to mention Filmkompaniet and provide a link to our website (www.filmkompaniet.com).

Cooke, Zeiss, Lumatech, Nikon, Lomo and Sigma lenses compared
Intro
The border between still lenses and cinema glass is slowly fading. There is a growing amount of cinema versions of stills lenses using the same glass, partly due to the developments of mainstream large format cinema cameras.
We decided to test an array of lenses from different eras and manufacturers, including the popular 50mm Sigma ART prime and the renowned Cooke Speed Panchro.
Finally, we also included an old Russian anamorphic lens to see how the character compares to the spherical lenses.
We ended up testing the following list of lenses:
- Cooke Speed Panchro 50mm T2.2 Series II
- Opitca Elite Mk II 50mm T1.3
- Zeiss B Super Speed 50mm T1.4
- Lumatech Super 35 Illumina 50mm T1.3
- Lomo Square Front Anamorphic 50mm T2.5
- Nikon AI-S 50mm F1.4
- Sigma DG HSM Art 50mm F1.4

The test setup - Miles Lembke, Jesper Wahlqvist, Minco van der Weide
Differences
There are a few factors that differentiate cinema glass from stills lenses. The main difference often isn't the glass itself, but the housing and how the lenses perform during a shoot. In general cinema glass offers the following benefits over stills lenses:
- T-stops instead of F-stops for more reliable exposure
- Manual and de-clicked aperture
- PL-mount for solid locking
- Uniform front diameter and length
- Follow focus gears
One of the main problems when using non-modified stills lenses is that lens series often have different lengths, filter sizes and focus ring positions. This means that with every lens change both the follow focus and matte-box needs to be adjusted, which is quite impractical on a fast-pace filmset.

Changing the PL mount to an EF mount - Jesper Wahlqvist
The same consistency is found in the way the speed of the lens is measured. The T-stop rating measures how much light reaches the sensor, while F-stops are mathematically determined. They don't take light loss due to different coatings and internal reflections into account. this often results in a different T-stop with equally rated F-stop lenses.
In terms of optical performance the difference of cinema glass is smaller, generally the only differentiating factors are:
- Less focus breathing
- Parfocal (when using zooms)
However, most of these problems can be overcome when choosing the right stills lenses, using custom focus gears and unified lens fronts.
One subjective but definitely noticeable difference is the fact that cinema glass, especially older handmade ones, are often made with a certain look in mind. Most modern lenses are made using precise electronic machinery. You could say this generally speaking results in optically superior performance but a lack of character.

Putting focus marks on the Arri FF5 - Jesper Wahlqvist
The test setup
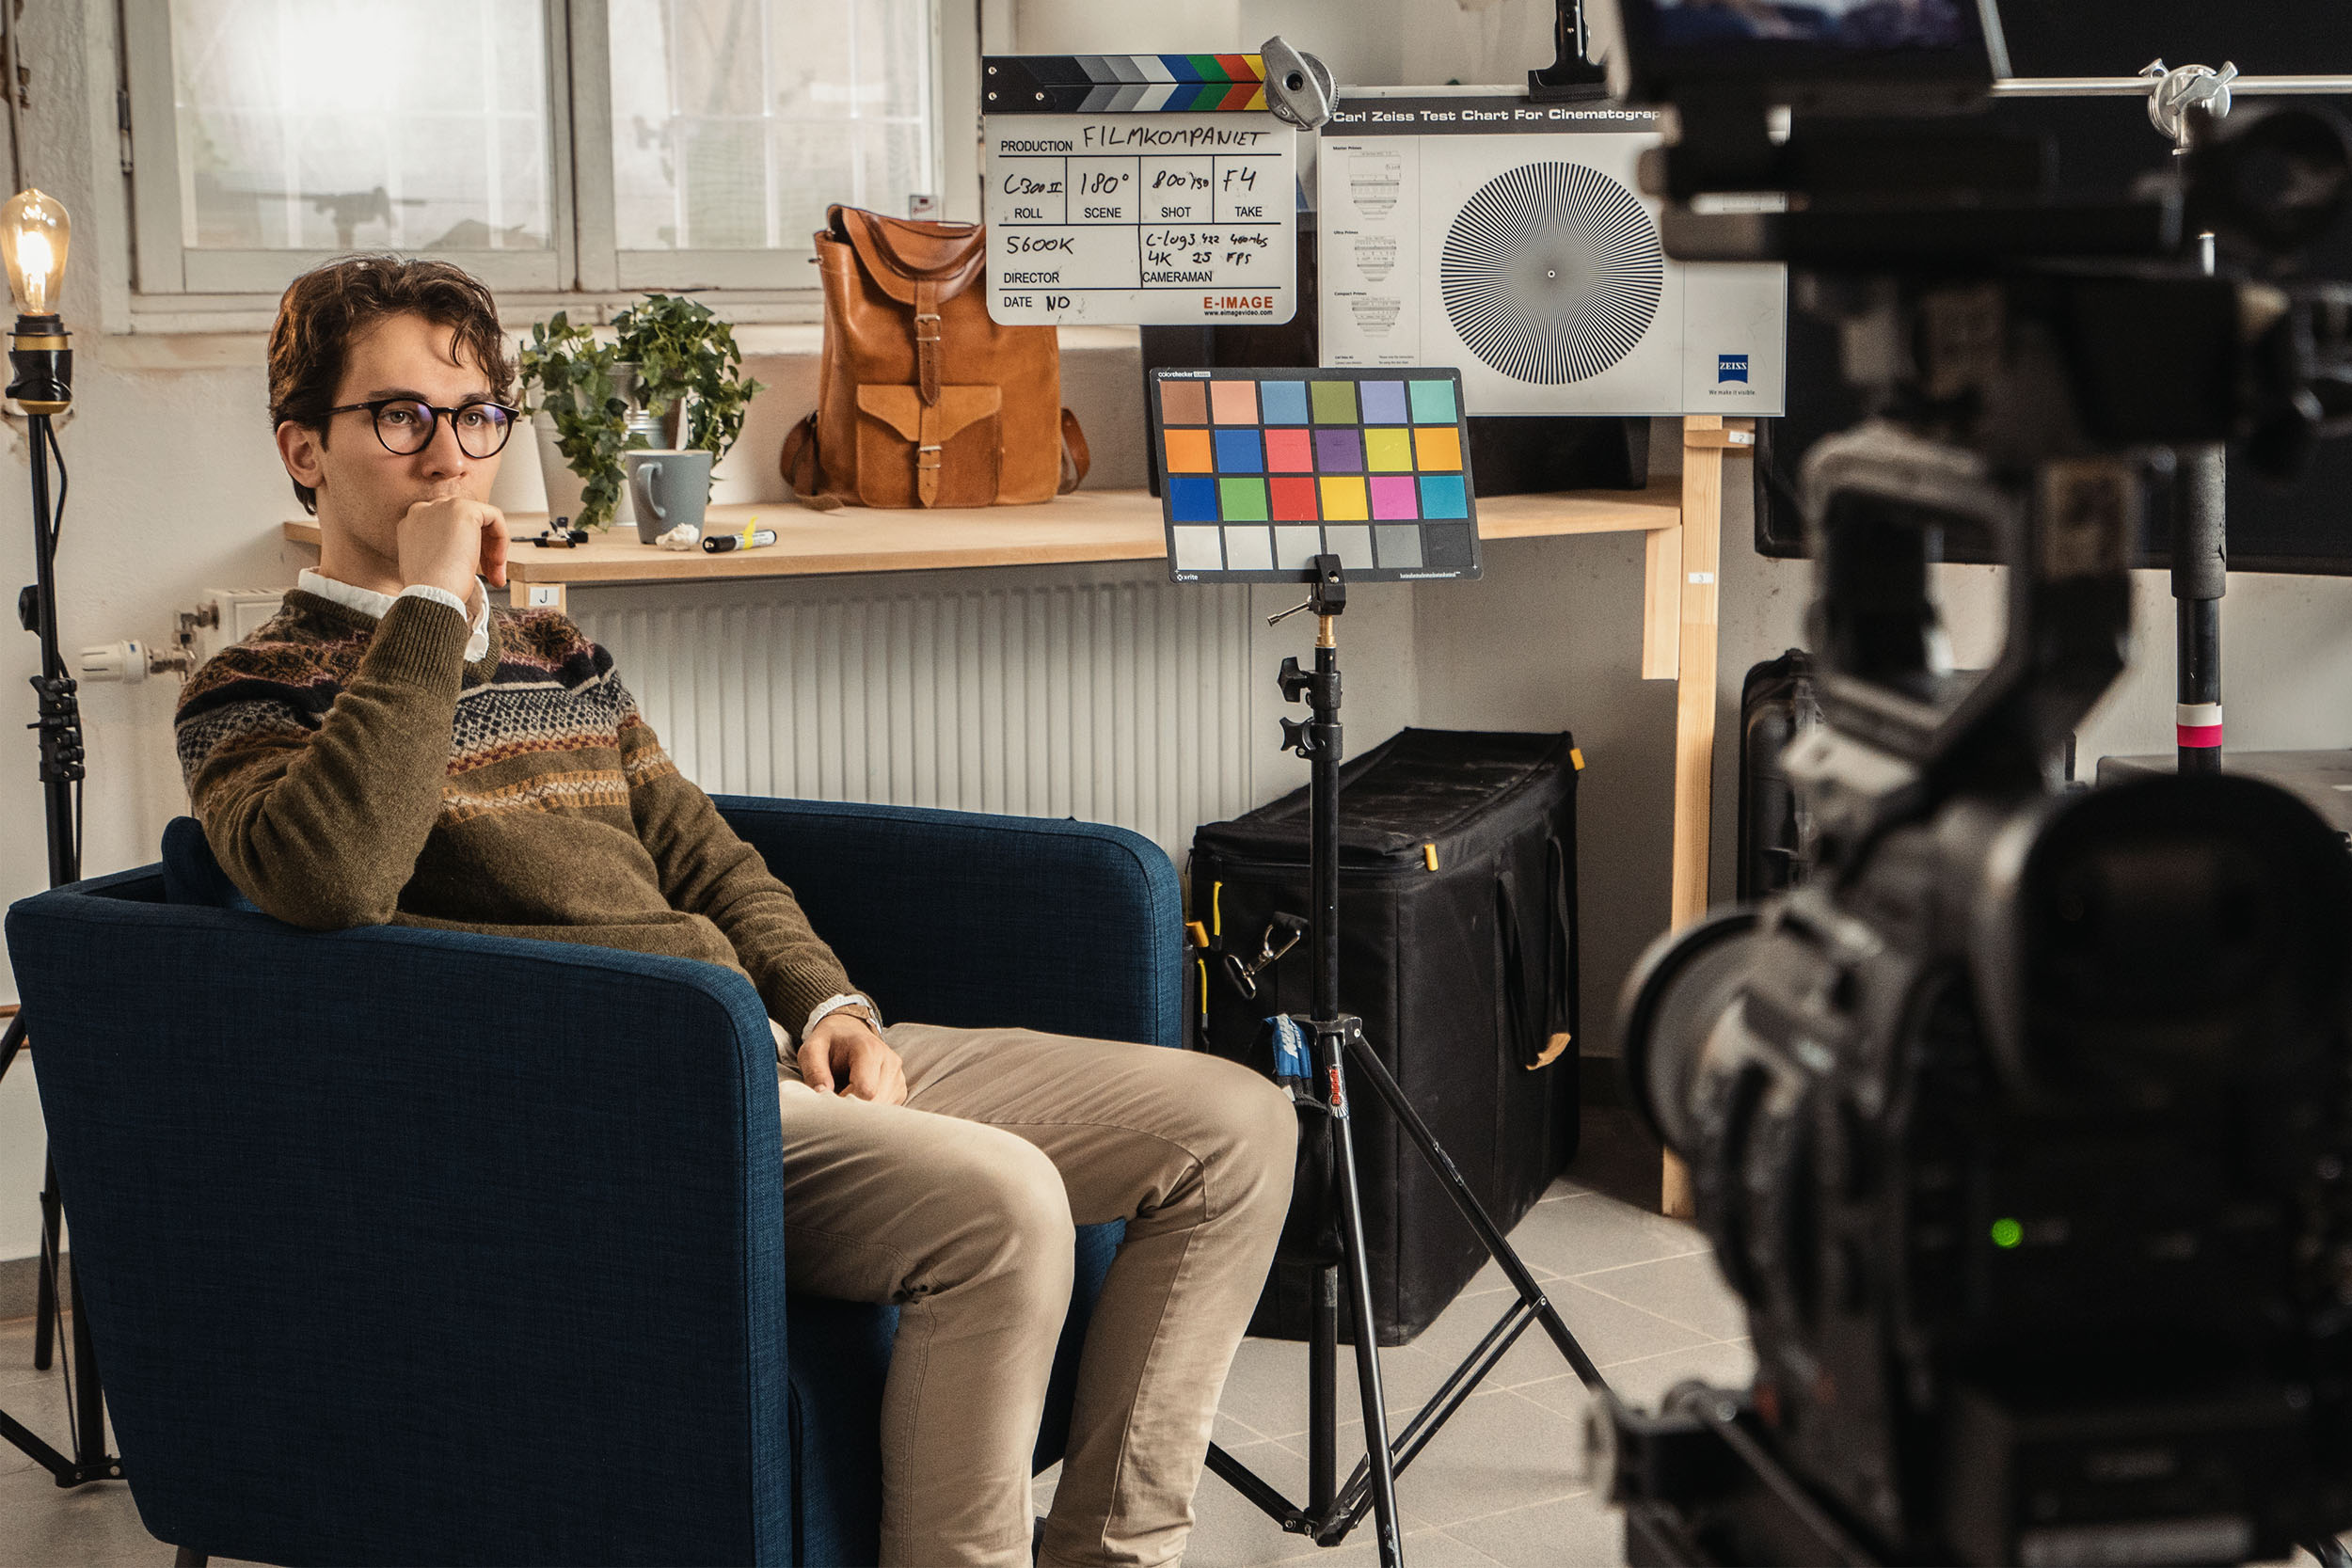
We decided to shoot an outdoor test recreating a real-world shoot. We have experience with indoor lens tests, but the difference between lenses becomes more apparent when there are more things happening in the background.
The test was shot in front of our office at a cloudy day. The only light modification is a black flag at the shadow side of my face to increate the contrast.
During the recording we performed a rack focus from infinity to a face shot, and then a focus to the colour- and focus chart at the end.

The test equipment
We decided to shoot the test on the Arri Alexa Mini, mainly because the ALEV-III is the most used sensor in high-end productions. The footage was recorded in ProRes 4444 with the LOG-C profile. Apart from that we used the following gear:
- Arri MMB-2
- Arri FF5
- Sachtler Video 18
- X-Rite ColorChecker Classic
- Carl Zeiss test chart for Cinematography Lenses
- SmallHD 502 bright
- Atomos Sumo19
To be able to directly compare the lenses we all used them at T2.8. To keep lighting consistent we used the Atomos Sumo19 to match the light coming traugh the sensor of all lenses with a vectorscope.

Correcting the footage in the grading basement - Miles Lembke
Results
The difference between lenses can be very subtile. During comparison you usually look for the following characteristics that together create the "look" of a lens:
- Bokeh character
- Sharpness
- Flaring
- Colour cast
- Chromatic- and spherical aberration
- Contrast and bleeding of highlights into shadows
During the grading we decided to only do luma adjustments to match the brightness and contrast of the thots and left the individual colours as they were. Since the LOMO lens has a 2x squeeze we cropped the desqueezed footage to match the 16:9 frame of the spherical lenses
We noticed that the biggest differentiating factor between the spherical lenses was the age of the glass. Most modern lenses looked very comparable in terms of colour and sharpness, while the older glass had a lot more character and colour difference.
The on-set experience of the lenses varied slightly. The biggest problem was the fact that we couldn't set focus marks on the Sigma lens, since the stills version doesn't have hard stops. This made focus pulling very challenging, this is visible in the focus rack of the Sigma lens. This problem doesn't apply in the cine version of this lens (Sigma CINE 50mm T1.5) that shares the same optical design.
Racking focus on the Lomo lens showed quite severe focus breathing, this is often seen in anamorphic lenses.
Verdict
The best lens is the one that suits the look and feel of the production the best, so there can't be a winner in a lens comparison. But there were definitely noticeable differences. We noticed that the Cooke had a green/yellow cast with quite a lot focus fall of towards the edges. while the Nikon lens tended to look quite magenta.
The first thing that's often looked at when comparing lenses is the sharpness, but we don't think it's the most important factor to look at for cinema use. For the average viewer, the variations in terms of colour and bleeding are much more noticeable than the difference in sharpness. Furthermore, a slightly soft look can often help create a more filmic look, hence the popular use of diffusion filters.


Even though the difference in sharpness can be seen wide open, the performance of lenses becomes near-identical when being stopped down to T5.6 or more.
At the end of the day we had some lenses we thought looked good, but it's best to look at the footage and decide for yourself what lens you like best for your projects.
A big thanks again to Falsett Rental in Stockholm for providing the equipment that made this comparison possible.
Download the files
Since YouTube compresses the footage quite severely we uploaded a 4k render. Click on the link below to download the files on Mediafire.
You are free to use, modify and publish it under a Creative Commons Attribution licence, make sure to mention Filmbron and provide a link to our website (www.filmkompaniet.com).
Let us know your thoughts on the differences in the comments below, and what lenses you would like to see tested!
Testing the new ProRes RAW on the FS5 + Shogun Inferno
Intro
ProRes RAW was definitely of the most exciting releases on NAB this year. It appears to give RAW quality and flexibility with a ProRes file-size and workflow. We decided to check out the performance of the new codecs from Apple on the Sony FS5 to see how it works and whether it fulfils its promise.

Reviewing the footage on the Atomos Sumo19 - Jesper Wahlqvist & Minco van der Weide
About ProRes RAW
There are two flavours of ProRes RAW: LT and HQ. They should be comparable to the filesizes of 422HQ and 444. Right now the only way to record these new formats is on the Atomos Shogun Inferno and Sumo19. The following cameras are currently supported:
- Canon C300 Mark II, C500
- Sony FS700, FS5, FS7II, FS7, FS7II
- Panasonic Varicam LT, EVA1
At the time of writing it isn't possible to do any exposure- or white-balance adjustments before the ProRes RAW debayering, it's unclear if this will be possible in the future. Cineform RAW (a discontinued codec similar in size and specifications) didn't have that option either in Davinci Resolve.
The first shoot
We decided to shoot the test footage indoor to ensure exposure consistency. We aimed a small LED spotlight to the wall so we could see the highlight detail and roll-off. We used the following equipment:
- Sony FS5 with RAW upgrade
- Sigma 50mm f1.4 EF with Metabones Speedbooster Ultra
- Atomos Shogun Inferno
- Atomos Sumo19
- X-Rite ColorChecker Classic
We shot the tests with S-LOG3 selected at all the shots, both internal and external recording. Since the ProRes RAW signal can only be processed into S-LOG3 (not S-LOG2) in Final Cut Pro X we thought it would be best to shoot everything in S-LOG3 to make things easily comparable.

A framegrab of the first test shoot - Minco van der Weide
But after talking to filmmaker and Sony-shooter Michael Ruley, I found out we made a crucial mistake. In order to record RAW you have to select the PP7 S-LOG2 profile. Anything else will not give a correct RAW feed.
This was a surprise to us, since we wrongly assumed that the RAW recording would not be altered by in-camera picture profile changes. But with this new knowledge in mind we went ahead and shot a second test the next day.
The second shoot
In our second shoot we decided to shoot against a window in our office's kitchen. This would give a bit more detail and colour in the background compared to a blank studio wall. We added a bit of fill, but decided not to use any lighting to keep the contrast between inside and outside big.
Since the Sony G Master lenses are razor-sharp we decided to add a bit of Black Pro Mist. We used the same gear as the previous shoot, but made a few changes to the setup to make it more comparable to a proper cinema rig and ended up using the following gear:
- Sony FS5 with RAW upgrade
- Sony 24-70mm f2.8 G
- Tiffen Black Pro Mist 1/8
- Atomos Shogun Inferno
- X-Rite ColorChecker Classic

The second test shoot setup - Jesper Wahlqvist & Minco van der Weide
Reviewing the footage
We exposed for skin tone at 47IRE against a bright window, this would be a good test to see how much highlight recovery is possible with ProRes RAW.
Since ProRes RAW is currently only supported by Final Cut Pro X we exported the footage from within Final Cut as a ProRes444 file, to do a precise colour-match using the ColorChecker in Davinci Resolve. We didn't do a creative grade, but aimed at adding contrast, saturation and matched the colours as close as we could.
Colour
An interesting feature within Final Cut is found in the settings tab found within the Info Inspector. Here you're able to change the RAW to LOG conversion. We decided to play around with it for a bit and quite liked the RAW > V-LOG conversion over the standard RAW > S-LOG3 conversion. This could be something to check out when downloading the original footage.
Dynamic range
With the exposure difference between my face and the bright window we had a good opportunity to test out the dynamic range of the RAW footage versus the internal codecs. We didn't look at it in detail, but with the same settings the internal footage seemed to be a bit darker and therefore the highlights didn't clip compared to the RAW output over SDI.
Noise
Exposure on S-LOG3 with Sony cameras is quite tricky. The usual recommendation is to expose 2 stops over and pull the contrast back down in post. Since the FS5 has a minimal ISO of 2000 in S-LOG3 the shadows can get quite noisy.
We found that all the footage suffers from quite a lot of noise in the shadows and mid-tones. Therefore pulling down the shadows in post in combination with noise-reduction would be a good practice, especially with the external recording since this bypasses the internal noise-reduction.
File sizes
On the first shoot we recorded 10-second clips of each codec and ended up with the following file-sizes. Please keep in mind that they may vary slightly in different usage scenarios, especially with ProRes RAW.
- Internal XAVC HD 50MBPS: 46MB (16,6GB per hour)
- Internal XAVC QFHD 100MBPS: 122MB (43,9GB per hour)
- External ProRes 422HQ: 918MB (330,5GB per hour)
- External ProRes RAW LT: 889MB (320GB per hour)
- External ProRes RAW HQ: 1240MB (446,4GB per hour)
- External Cinema DNG: 3420MB (1231,2GB per hour)
cDNG vs ProRes RAW
We would have preferred to be able to test Cinema DNG and ProRes RAW head to head in Resolve, but unfortunately Final Cut Pro X doesn't support cDNG, and Resolve doesn't support ProRes RAW.
The cDNG files can be edited within Resolve like a RAW photo can be edited within Adobe's Camera RAW. One thing to keep in mind with cDNG is that it bypasses the Picture Profile of the camera (this might be the reason the ISO and white-balance of a ProRes RAW can't be adjusted).
The file-sizes of cDNG are huge, it's basically just an image sequence. But with the help of a neat little program called SlimRaw we were able to keep the file-sizes manageable without any noticeable loss of quality. It is however an extra step in the post-production process that wouldn't be necessary with ProRes RAW.
Verdict
In a lot of ways this test showed the quirkiness of shooting on Sony cameras. While you can get great images out of them, exposing and using a camera like the FS5 correctly is much harder and more technical than the (much more expensive) Arri Alexa.
While you can teach an operator to use a camera like the Alexa correctly in less than half an hour, it takes a lot more technical knowhow to use and expose the FS5, especially with external recording.
We ran into a lot of small problems. We used the Atomos to expose using false colour and scopes. However, when we switched from internal recording to an external RAW feed there was a quite big exposure change.
Of course all of these problems can be prevented with testing and research, but it's really easy to look over small details on a hectic shoot-day. Since exposure for S-LOG is quite tricky being off a bit can have a much bigger effect than Arri's LOG-C, which is much more flexible in practice.

Having a Macbook by hand when using the FS5 can definitely come in handy - Jesper Wahlqvist
Sony's LOG profiles loves light, it excels in high-key shoots but falls short in low-light areas. You need to deliberately overexpose while working with high native ISO's (ISO 2000 instead of the standard native iso of 800). But if you do it all well you end up with a great image that is very kneadable in post.
The biggest limitation of ProRes RAW is that at the moment of writing it's only supported by Final Cut Pro X, so there is no possibility to grade the footage within software like Davinci Resolve without converting the ProRes RAW first. But we hope to see other NLE's and grading software adopting the new ProRes codecs soon. It would also be good to see internal ProRes RAW options on cameras that are currently capable of ProRes recording.
The file size of RAW LT is similar to 422HQ, and you get more bit and full 4:4:4 colour instead of 4:2:2. This should make it close to a no-brainer to record ProRes RAW instead of regular ProRes on supported Atomos recorders once the codec is more widely supported.
A big thanks to Falsett Rental in Stockholm for letting us use their equipment.
Download the test footage
We'd love to hear what you think of ProRes RAW. That's why we uploaded all of the footage so you can test it out for yourself. Click on the link below to download the files on Mediafire.
Since the original 5 second Cinema DNG clip was almost 2 GB in total we decided to compress it 3:1 with SlimRAW to make downloading more manageable. This compression was visually lossless on our reference monitor.
You are free to use, modify and publish it under a Creative Commons Attribution licence, make sure to mention Filmbron and provide a link to our website (www.filmkompaniet.com).
Let us know your thoughts in the comment section below, happy grading!